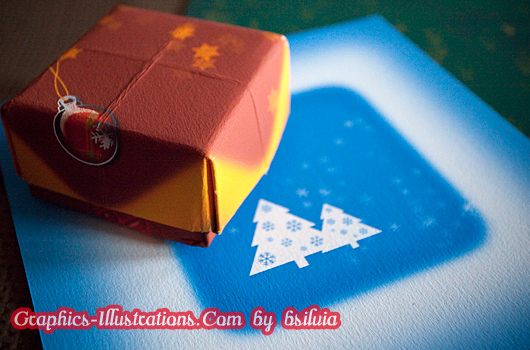
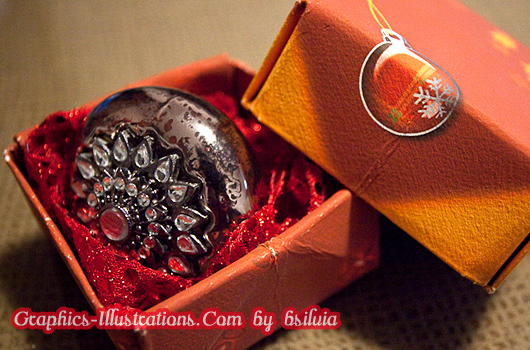
Christmas is near – Santa is coming and we are all thinking about giving! We all know that Christmas is not just about presents, it’s about showing your dear ones how much you love and appreciate them! And what better way there is to show it, but to put some extra effort in preparing a nice gift boxes by your self. In this post I will give you all instructions you need to prepare your own, very special – gift box! (With a little help of Photoshop brushes – as usual :))
So, to create your own gift box you will need:
- Nice Christmas graphics in Hi Resolution, ready to print
- Few minutes of your time to make an origami gift box out of them
1. Downloading and printing Christmas Graphics
I made four 8 1/4″ by 8 1/4″ (at 300dpi) Christmas designs for these Christmas gift boxes!

Let me just mention, that I used Winter Holidays Photoshop brushes set to create these Christmas graphics!
Winter Holidays / Christmas / New Year) Photoshop Brushes
Winter Holidays / Christmas / New Year Photoshop Brushes and PNGs package features:
Winter Holidays / Christmas / New Year Photoshop Brushes 1
– 55 Photoshop brushes in 1361-2429px,
– 55 Photoshop brushes in 543-969px,
– 55 transparent PNG files
Winter Holidays / Christmas / New Year Photoshop Brushes 2
– 20 Photoshop brushes,
– 20 transparent PNG files,
– all PNGs and Photoshop brushes are in 300dpi
Compatible with Mac (any OS) and PC
Compatible with Adobe Photoshop (7.0 up to CS5 for PC and Mac), Photoshop Elements (up to version 9), PaintShopPro, Paint.NET and pretty much any decent image editing application out there.
2. And, now print these graphics out on a paper. (Letter format or bigger. Depends on the size of the box you’d like to get.)
Of course, I made some some gift boxes and here are a little photo-story about how it went.
First, I printed all four papers on one 16.5 × 23.4 paper and this time I used Tecco’s Digital Photo 330 Gallery Board paper (it’s a little bit thick, but that’s all I had at the time). Then I simply cut the paper in four pieces.

3. Then following the instructions on the YouTube video (link is below), I assembled the first box – it turned out really cool 🙂
Now I needed one smaller box to nest it into the large one. To make that smaller one, I used one of the papers with graphics printed on it and I cut some 1/2″ of it from all four sides.
With this smaller piece of paper I made the same box shape, but this time it is a bit smaller so it can fit into the bigger one. So, the big one is a box lid and the small one is a box “container”.

Now, that looked cool! I was really impressed with the results! Then, I cut a little piece of a shiny red cloth. This cloth will save my Christmas tree glass ornament from breaking and it will make my gift look much cooler 🙂

Voila!
I hope you like what you see and I you’ll do the same for your own gifts!
Here is how to make origami paper boxes – YouTube video: Origami box
And here is a simple guide to a very similar origami box made by Sunni Bergeron: Origami GiftBox
That’s it! Hope you will enjoy your Christmas wrapping and have fun creating 🙂
S 🙂
Discover more from Graphics-Illustrations
Subscribe to get the latest posts sent to your email.


Great papers
Your tutorials, ideas, and gifts to create these wonderful projects are awesome! And always generous. Thank you! Happy holidays