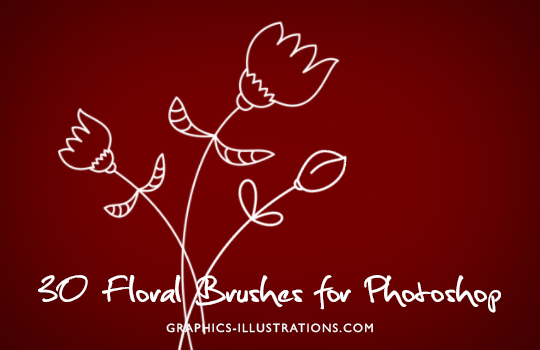
I noticed, ever since I started my Photoshop brushes business that many of my buyers are using Photoshop brushes to create their own custom stamps. And this is, mainly, for two different purposes (which sometimes overlap).
1. They use these stamps in their own DIY projects like scrapbooking or similar
2. And more often then not, they use Photoshop brushes to create designs for stamps which are then being sold to stamp buyers.
And this is all well. The whole idea behind my Photoshop brushes is to help you guys, not just create stuff for your own needs, but also to help you create new stuff out of it (like rubber stamps) and make some money along the way.
There are quite a few services out there offering custom stamps. Most of them offer quick and easy on-line stamp creation. Of course, although most of you will be interested in creation of custom stamps for your scrapbooking and DiY craft needs, still, you might want to have your own signature stamps as well. Or you might want to have a stamp with your logo on it.
So, in this little exercise, I wanted to see for myself how fast and how easy it is to create your own logo stamp with a little help from Photoshop brushes.
And, believe me, it was faster then I though. Before starting the process there are few rules to know.
- First, the image you’d like to have on your stamp must be in full black color. Your stamp can, later on, be in red or other color, but the image you are uploading must be black.
- Resolution of the image must be 300dpi. My brushes are in high resolution so this is not a problem.
- File formats: cdr, ai, eps, tif, psd, jpg, gif and pdf. Of course, in this case .jpg is probably our choice
So, the procedure is quite simple, create a new file in Photoshop, make it a desired size, but the resolution must be 300dpi, add a Photoshop brush which you’d like to turn into stamp and save the file in .jpg format. (Notice: You might want to crop image so that the blank space between the brush and the edge of the image is maximally reduced.)
Now, step two, on the stampxpress.com, you will go to “Design Your Own Stamp” option and upload the file. You may choose to have up to 20 lines in your stamp but in most of the cases, 3 should be enough. You also get to choose the font type, size, attribute (bold, italic, underline) and the alignment.
And this is how I created a stamp for Graphics-Illustrations.Com.
Finally, many of you will go and look for discount stamps. For these, as well stampxpress.com is probably the right address.


