Create unique Christmas Party Invitations for your friends and family or start a new job and earn some extra money. Here goes another short tutorial where I’m trying to prove, one more time, how easy, fast and fun it can be to use Photoshop brushes.
I this little tutorial I will show you how to use your passion and love for visual arts, turn your creative juices into something new and surprise your friends and/or family. In part two of this tutorial I will show you how to upload your Christmas Party Invitation to Zazzle and try to make some extra $$ with it!
And it will be fun!
So, for starters, let’s what we’ll need. Uhmmm… first we will need some nice, fancy-schmancy holiday font. You might have some already, but I always like to explore new stuff and I just ain’t gonna miss the opportunity to visit my favorite fonts places: www.dafont.com.
For this little occasion of ours – I picked this Santa’s Sleigh typography.

After downloading and installing the font (I hope you know how to do that, if not here is the hint: put them into Fonts folder :), we are going to open our good old Photoshop and create 5,25″x5,25″ document at 300 dpi. These dimensions (especially the dpi) are required by zazzle.com, so we’ll stick to it.

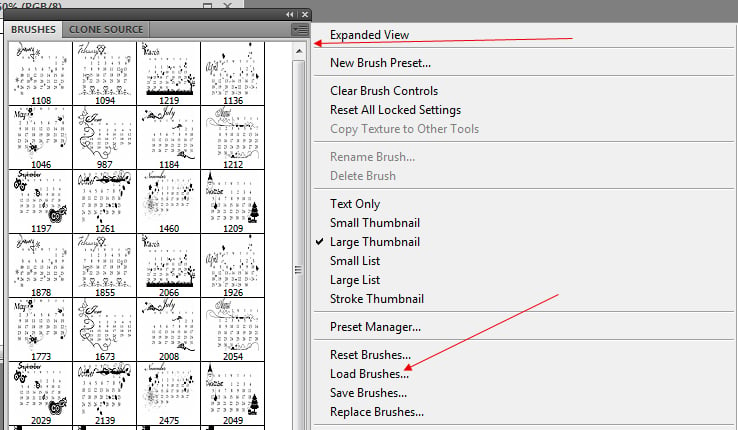
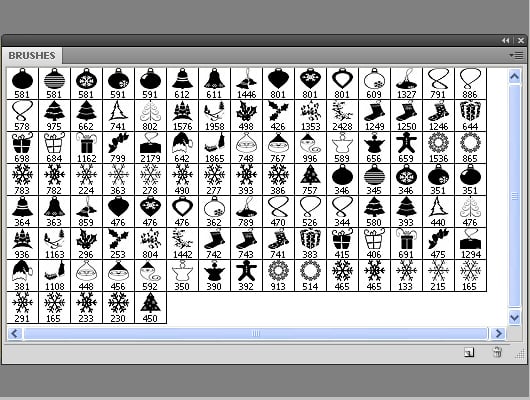
In this case I will load my favorite Christmas Photoshop Brushes set.
Press F5 to display Photoshop brushes window, load them and press B to activate Brush tool.
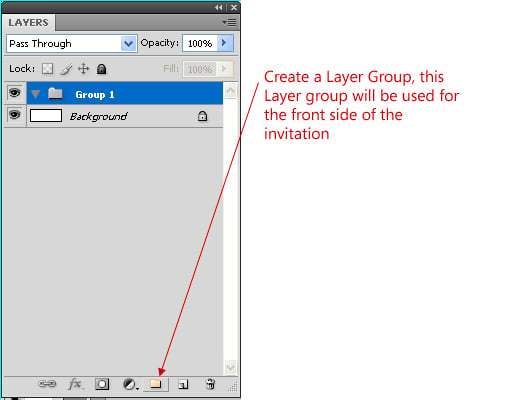
Because our Christmas Party Invitation has front and back side, we are going to organize our work in two Layer Groups, first Layer Group will be used for the front side of the invitation and the second Layer Group (which we will create on a later stage) will be used for the back side.
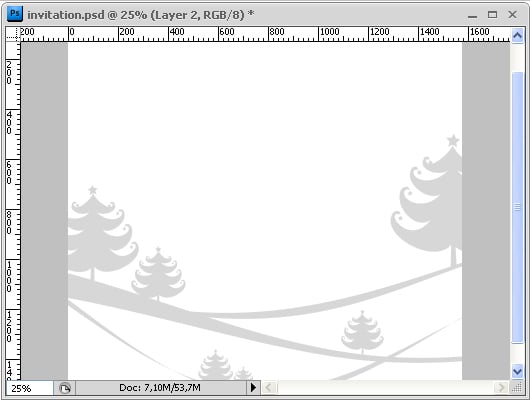
Now, let’s use some brushes! Press B to activate Brush tool, set foreground color to some light gray and simply add the brushes to our canvas.
Now, let’s add some snow!
Let’s add a new Layer (we are going to need it later) pick the snowflake brush and bit lighter gray color. Play with the brush settings as demonstrated below: adjust Shape Dynamics, Scattering for dispersion and Other Dynamics for the various tones of gray color and Spacing to adjust space between the snowflakes.
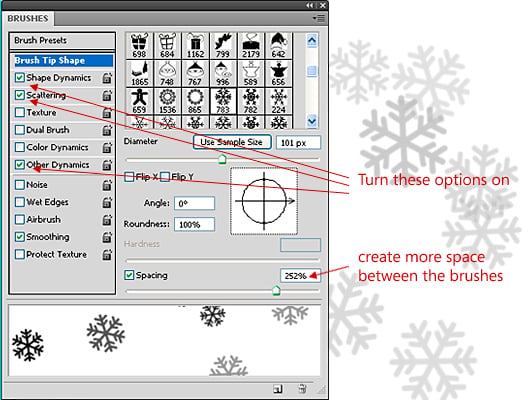
Now, just a few strokes with our brush on the canvas and voila! It’s snowing!
Now add desired text using Santa’s Sleigh font (downloaded from www.dafont.com).
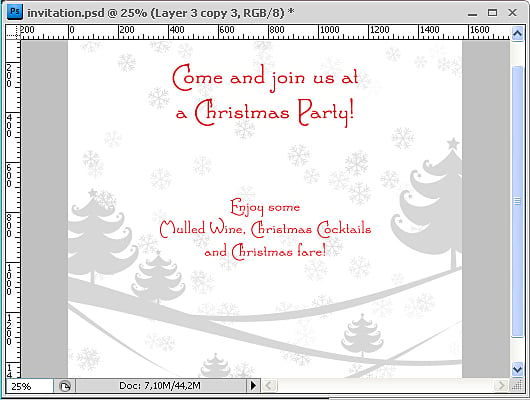
And the front side of our invitation is over!
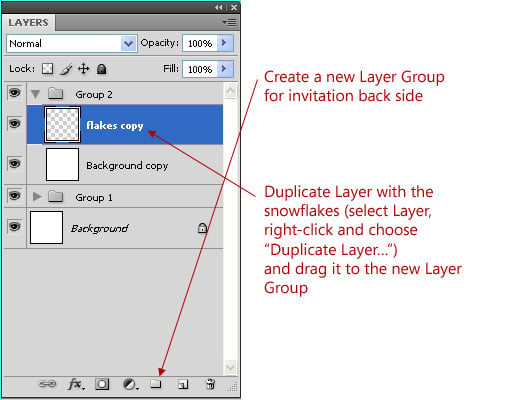
Now, let’s do some work on the back of the invitation. Create a new Layer Group and duplicate the layer with the snowflakes only.
On the back of the invitation type RSVP and make a dashed line with the Text tool (T). Spacing between the characters should be set at 100 (or more).
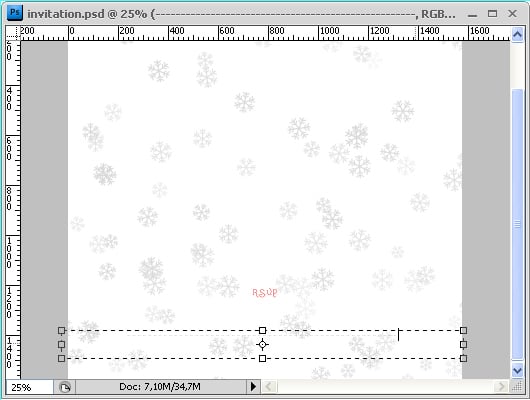
We are done 🙂 Now print this card on your printer or use your local printing company or create account on zazzle.com.
That was simple, easy and fast, wasn’t it!
In the next tutorial I will show you how to make this invitation available for sale.

Whatever you do, do not forget: Have Fun Creating!
S 🙂
PS:
Of course, if you don’t feel like doing the whole thing by yourself, just:
Note: Santa’s Sleigh font is not included in the download (you will have to download it from www.dafont.com!)
And yes, you can sell stuff that you created with my Photoshop brushes! That’s because all of my Photoshop brushes come with a CU which stands for Commercial Use License, meaning you can create stuff with my brushes and sell it.




[…] Go here to read the rest: Create a Christmas Party Invitation Tutorial w/Christmas bPhotoshop/b b…/b […]
tyvm for the great tutorial
Thank you very much this will save me lots of money this year!
Ps I just got photoshop last week so this is just lovely!