Humans!
(Now, what did you expect me to call you? You call us cats, it’s only fair that we call you humans, no?)
Anyways, it was brought to my attention that a number of humans don’t have Photoshop (which is totally ok, because it’s not very cheap, I know, you can get loads of cat’s food for that kind money…).
Also, I was led to believe that many humans, who don’t have Photoshop, would still like to take advantage of bsilvia’s Photoshop brushes such as yesterday’s set Swirled Squares Design Elements (Photoshop brushes, or Digital stamps as some call it)
Many humans would like to use it as .png files for their scrapbooking, digital stamping, photo album-ing, graphics designing and web producing, even Power Point presenting projects.
And that is not all. Apparently, a number of humans already have Windows 7, and good old abrViewer, reportedly, does not work under Windows 7.
So, how do we convert these Silvia’s Photoshop brushes to PNG files – I hear you ask?
Piece of cake.
Here is what to do:
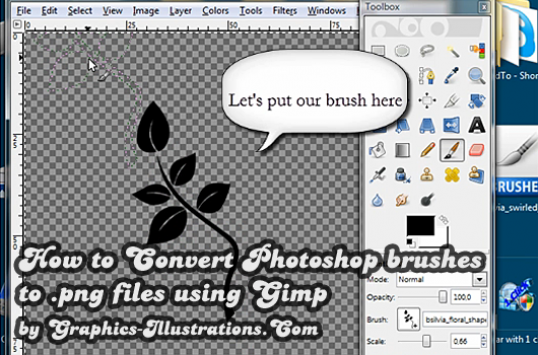
1. Make sure have the latest version of GIMP
2. Copy the great bsilvia Photoshop brush by pressing Ctrl+C on it
3. Paste that brush into the GIMP brushes folder (In Windows it is C:Program FilesGIMP-2.0sharegimp2.0brushes)
However, to make sure, of if you are using Mac (lucky you!) you can check the GIMP brushes folder in GIMP, by clicking on Edit -> Preferences -> Folders -> Brushes

4. Start GIMP and open a new file (make it as big as you would like your PNG file to be, I made it 4inx4in at 200dpt for printing)

5. Make sure you are working on a transparent layer (that’s if you want to have transparent PNG file in the end)

Place the brush on the transparent layer (actually delete the background layer should you have one)
7. Save this file as PNG

That’s it.
Now, you have a beautiful PNG file created from bsilvia’s Photoshop brushes.
Meow!
Meoki


