Turning a photo into an illustration in Illustrator
Step 1
First, place a high-contrasted image (high-key image, in this case my model Iva) into Illustrator work area.

Step 2
There is a bunch of tracing software and plug-ins out there, but for this example I decided to do tracing manually with pencil tool.

Step 3
Use your imagination, draw something that you imagine, not just what you see.

Step 4
In order to get a right side of the face copy+paste left half, mirror and join to get the full picture, and then draw an oval shape around.

Step 5
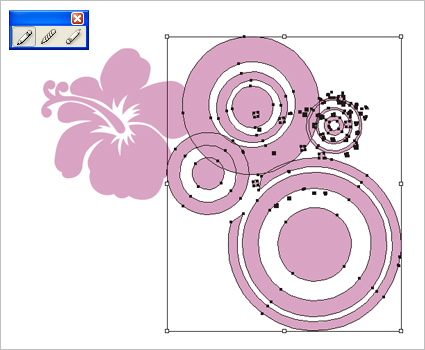
Make some basic elements like simple flowers, leaves, circles and stains.

Step 6
On the other hand, if you need this illustration for any purposes and don’t want to bother going through all this then get it for 1$ at Shutterstock.

Discover more from
Subscribe to get the latest posts sent to your email.


WOW! Great pic!
Thanks Carrot 🙂
I just noticed that those images were still on my old blogspot blog…! 🙂
Silvia
Is there anyway we can get these tutorials in a pdf format.
i love your website!! great tutorials thank you 🙂
Waow i really like this tutorial
THANKS>>>>>>>>>>>>>>> Luv
You are very clever!! Great job on your tutorials and on your site in general!
i love your site silvia! ur a good help to me. i wish i can be as creative as you!
Melody, of course you can be as creative as me. You can be even more creative. Start by letting go of limiting thoughts 🙂
Very nice thanks a sharing and realy good website..